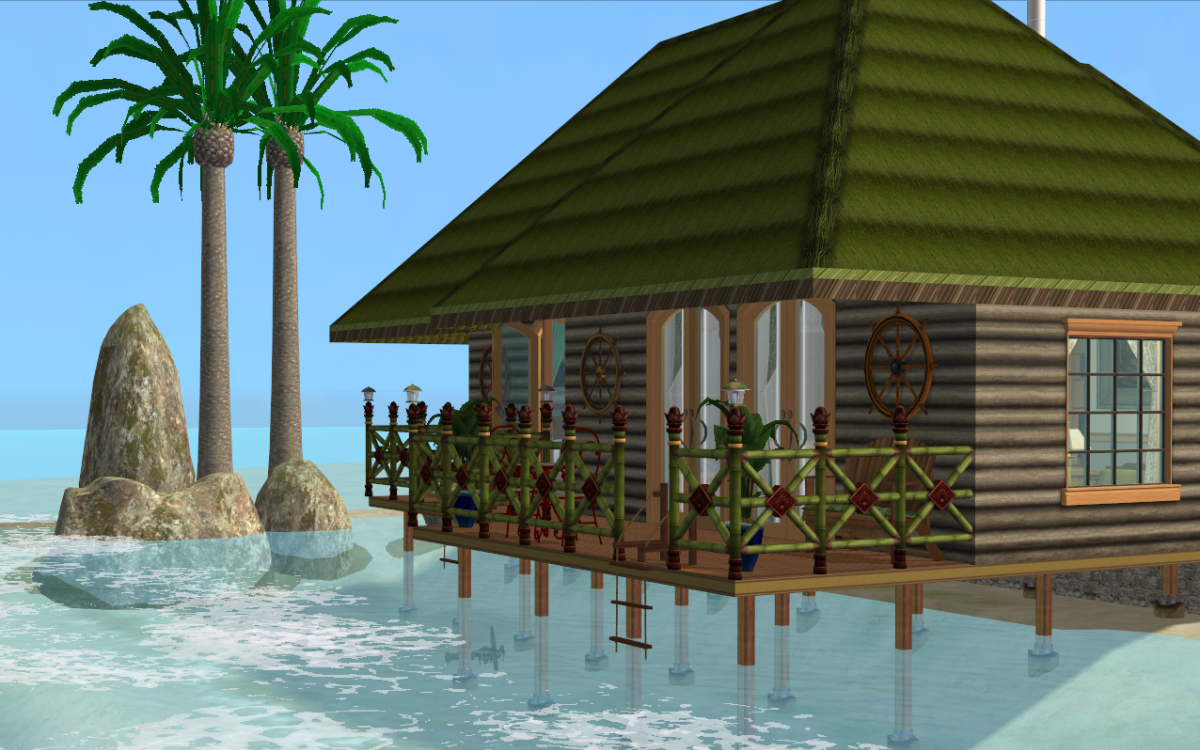
Building a Beach Hut
This pictorial shows you how to lay the foundations for an over-water hut on a Bon Voyage beach lot, for example
1) Start Sims 2, enter your favourite hood and plonk a beach lot down

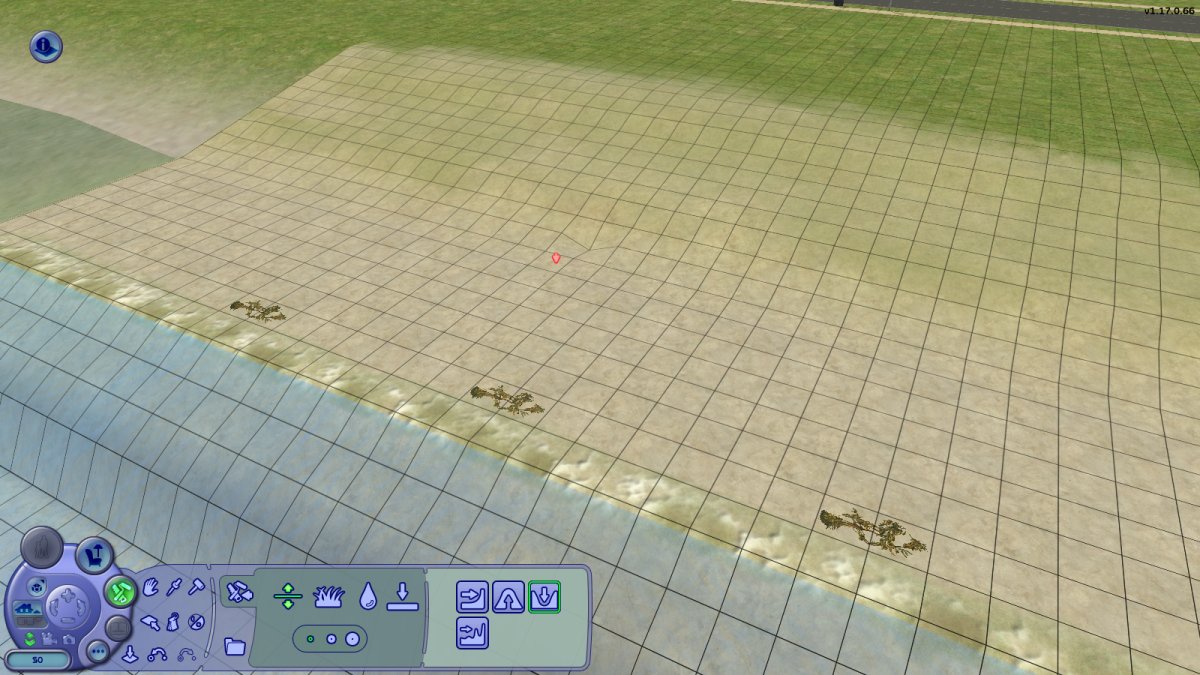
2) Enter the lot and mark the tide line (it's easier than remembering where it is or referring to a screen grab!)
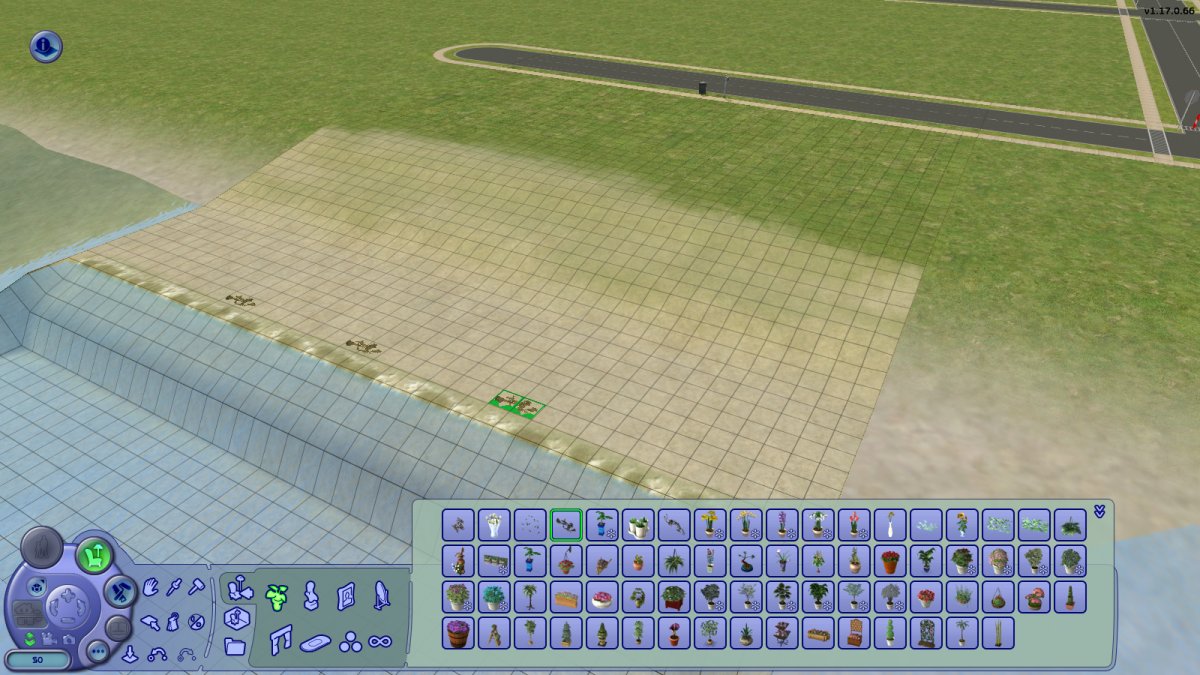
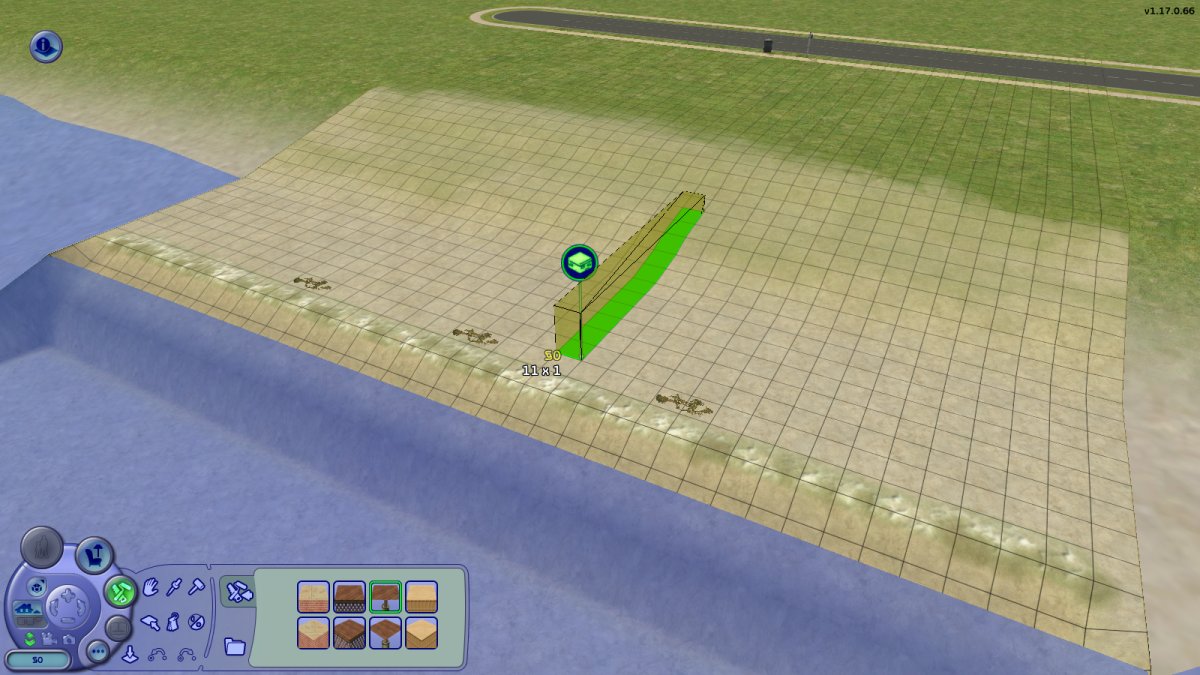
3 & 4) Note how we can build foundation only part way down the beach
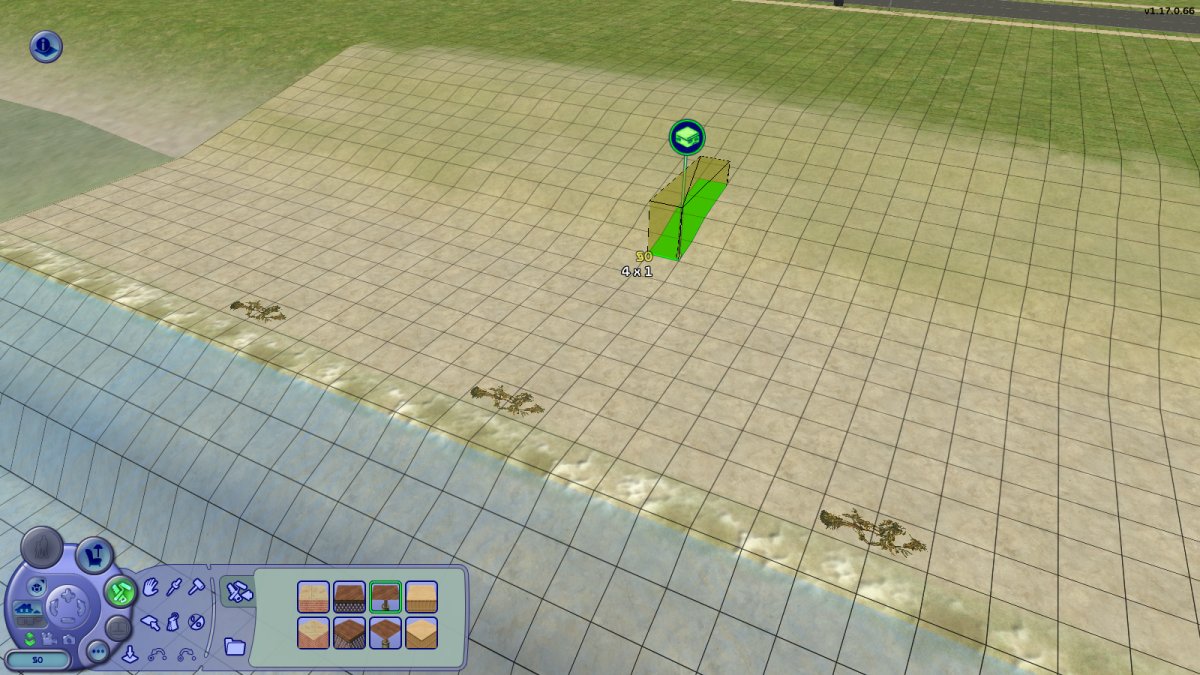
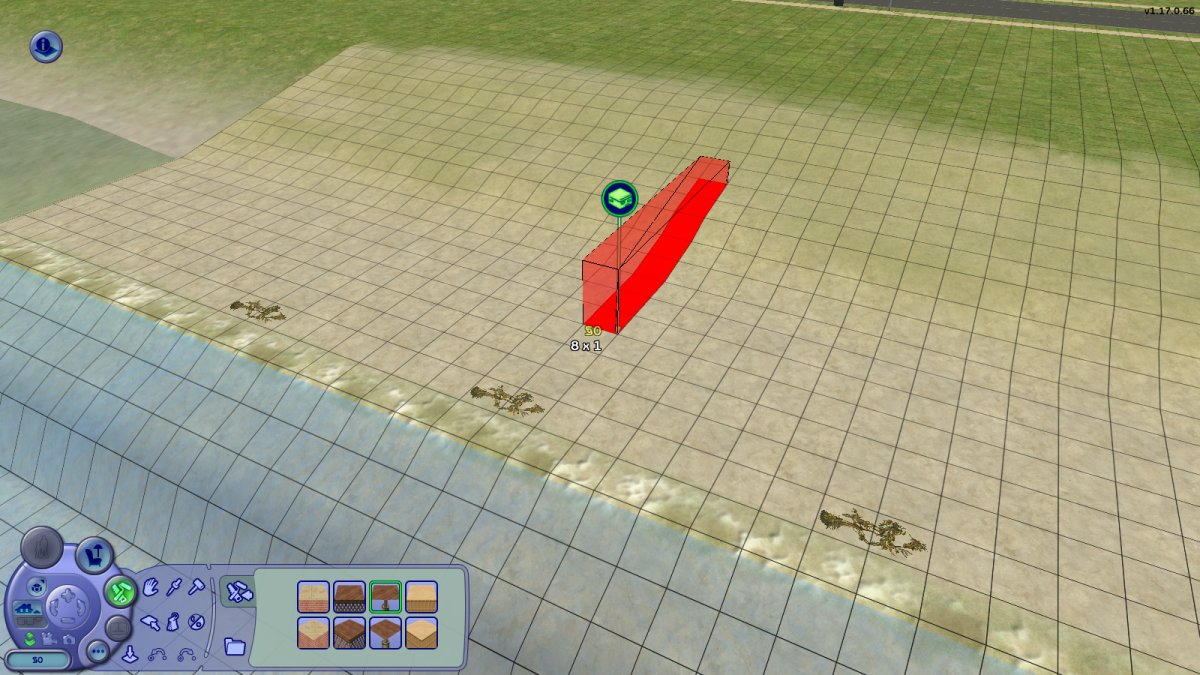
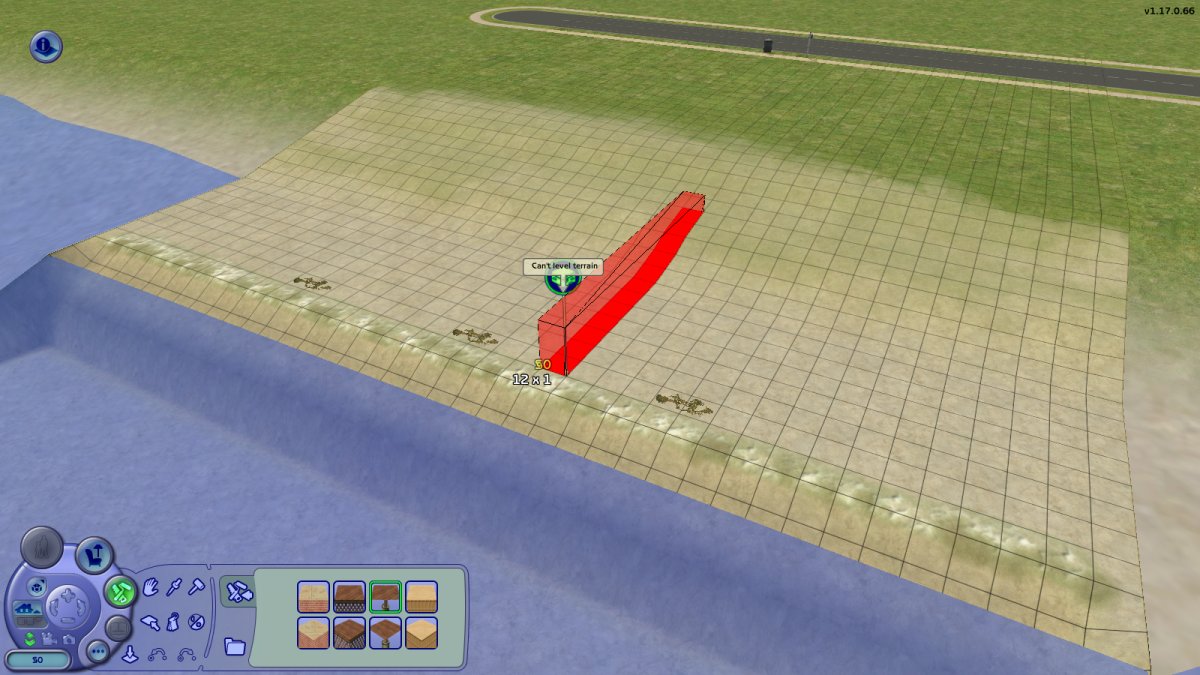
5 & 6) And how we can terraform the dunes, but not the beach and shallows

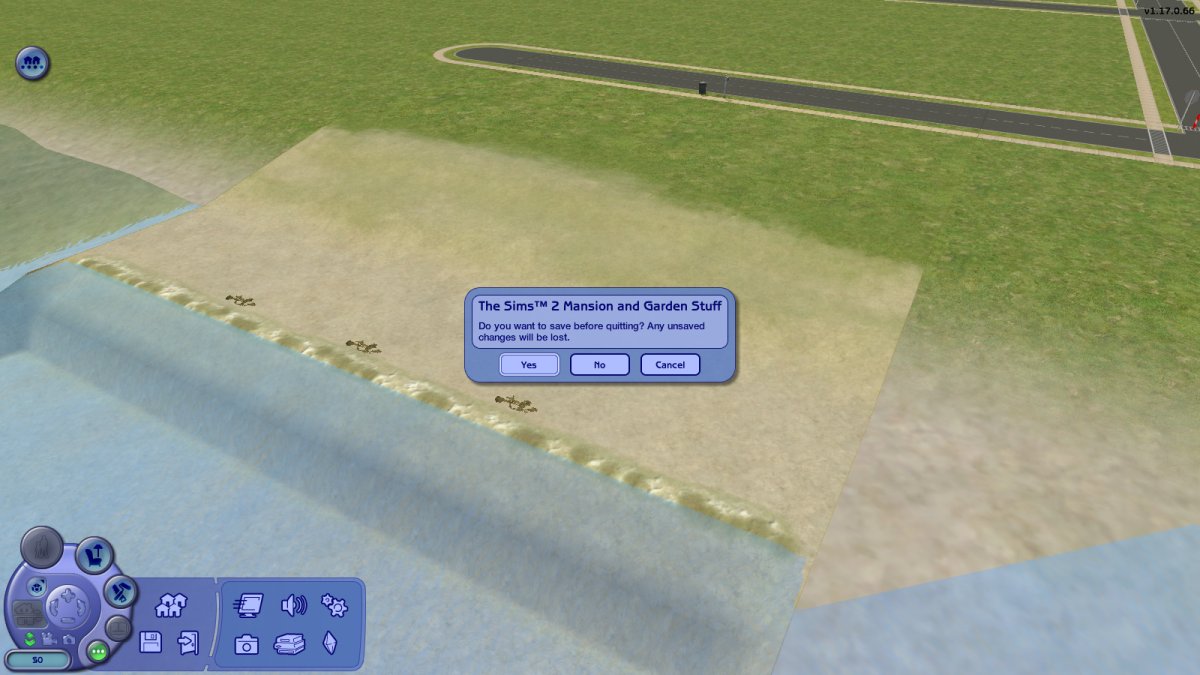
7) Save and Exit
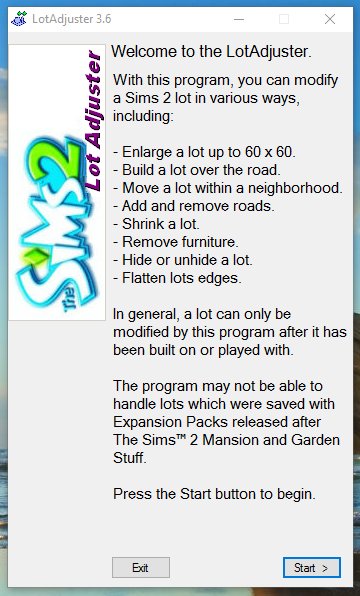
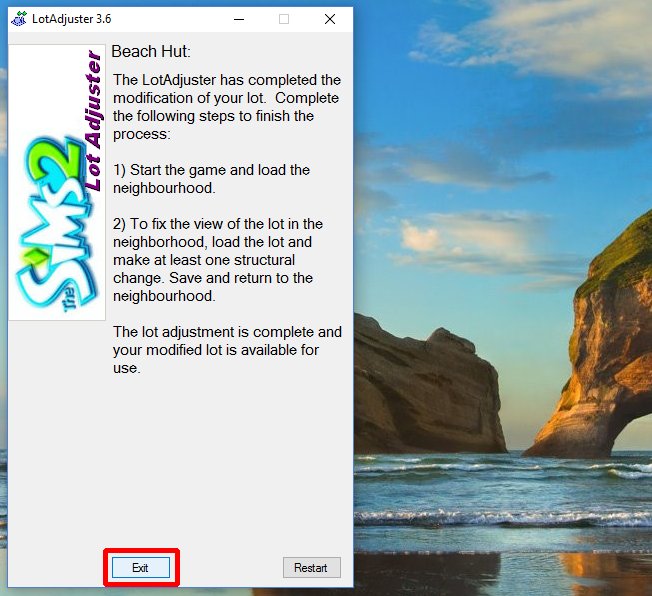
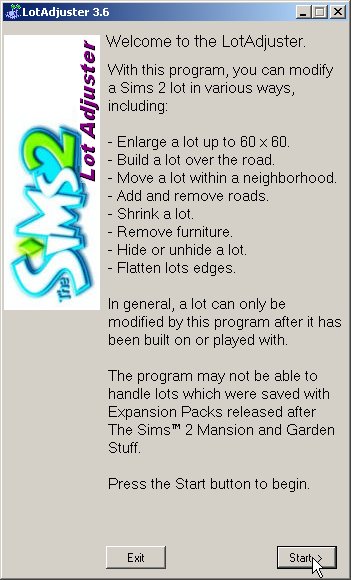
8) Start Lot Adjuster 3.6
NOTE: If you are using Any Game Starter (AGS), see below
8A) Click Start
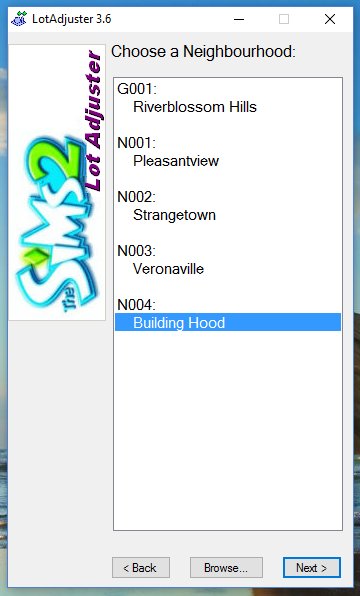
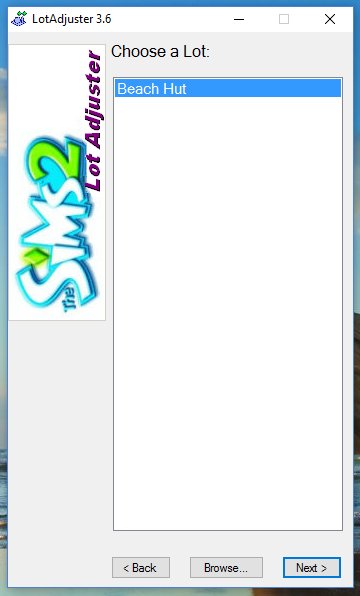
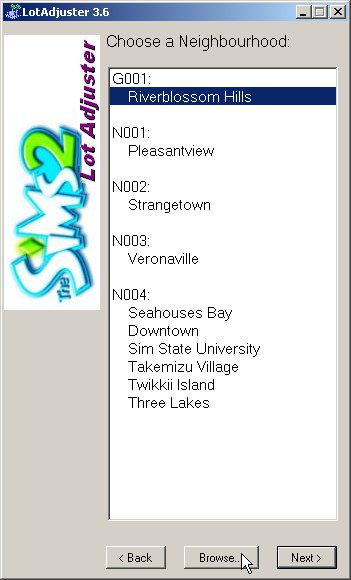
8B) Click the hood name to select it, then click Next
8C) Click the lot name to select it, then click Next
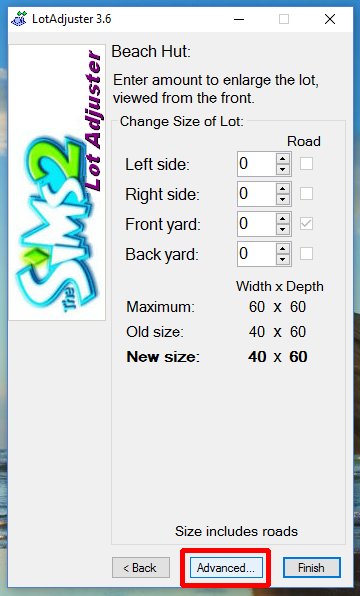
8D) Click the Advanced... button
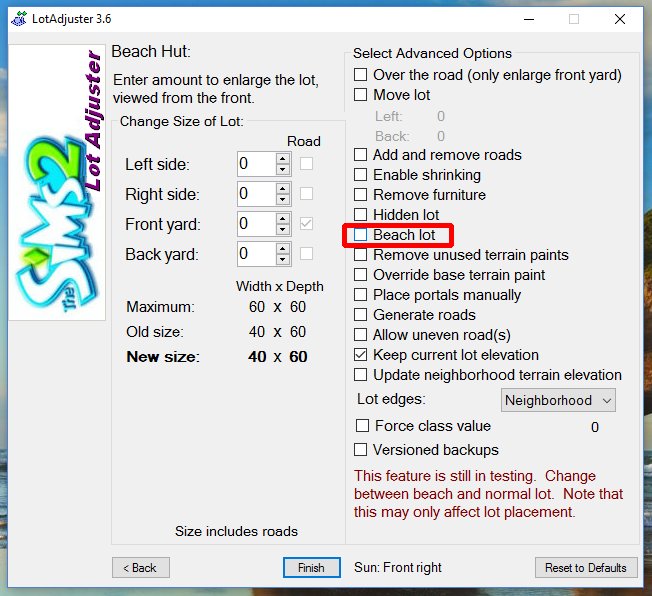
8E) Uncheck the Beach Lot check-box
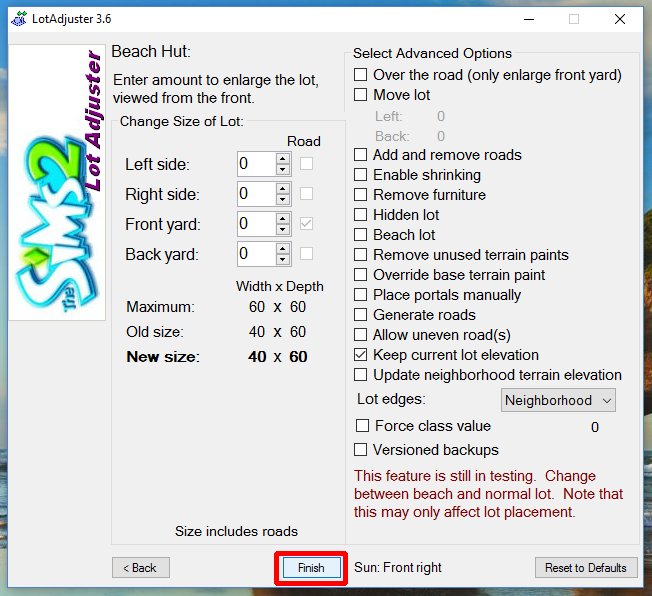
8F) Click Finish
8G) Click Exit
Restart Sims 2, enter the hood and click to build in the lot
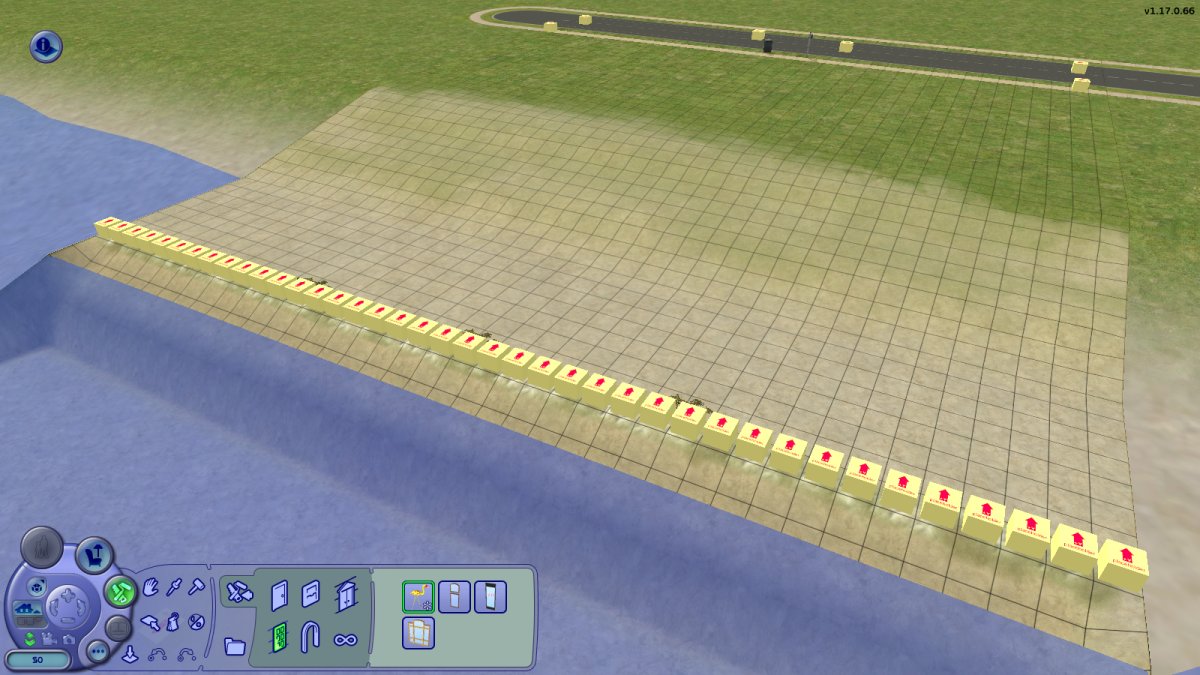
9 & 10) Note how we can now build foundation almost al the way to the water edge
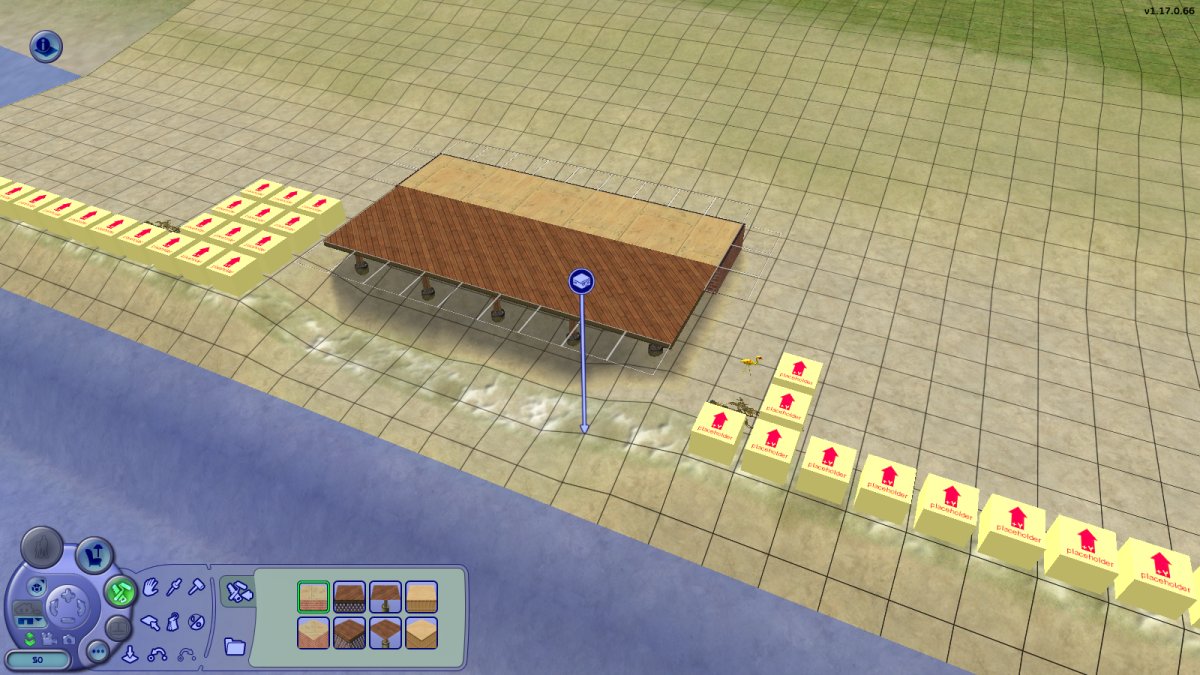
11) Grab the Portal Revealer and place it
12) moveobjects on
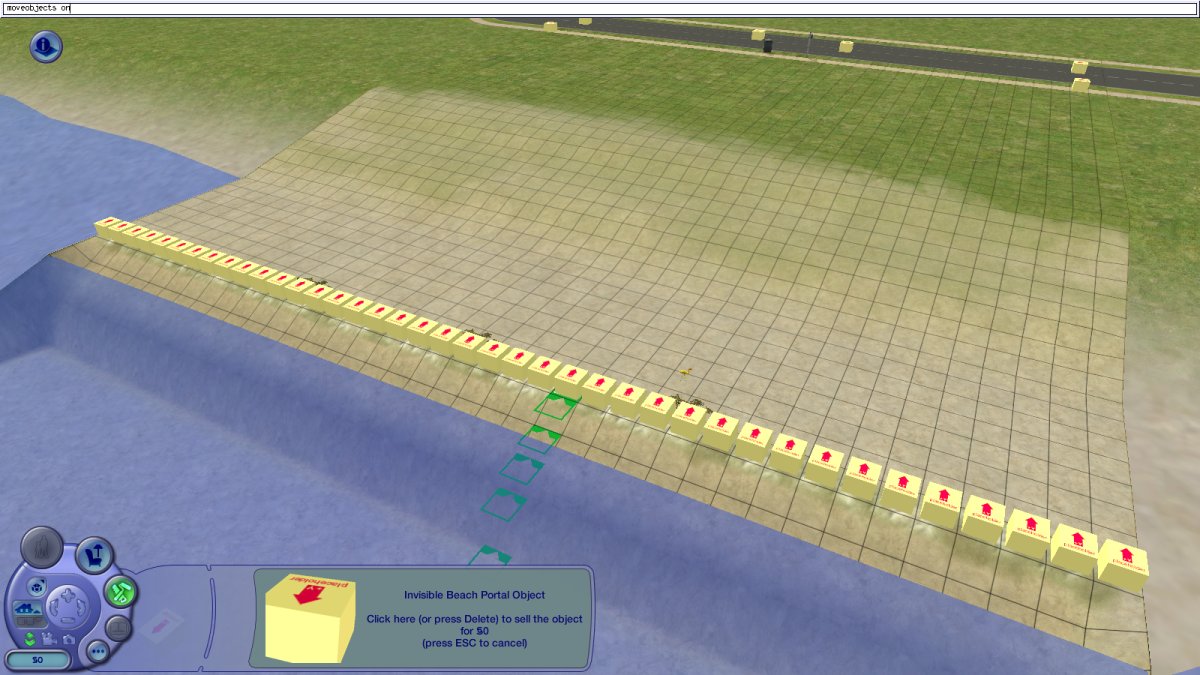
13) Move the portal boxes out of the way, we can now place foundation all the way into the water
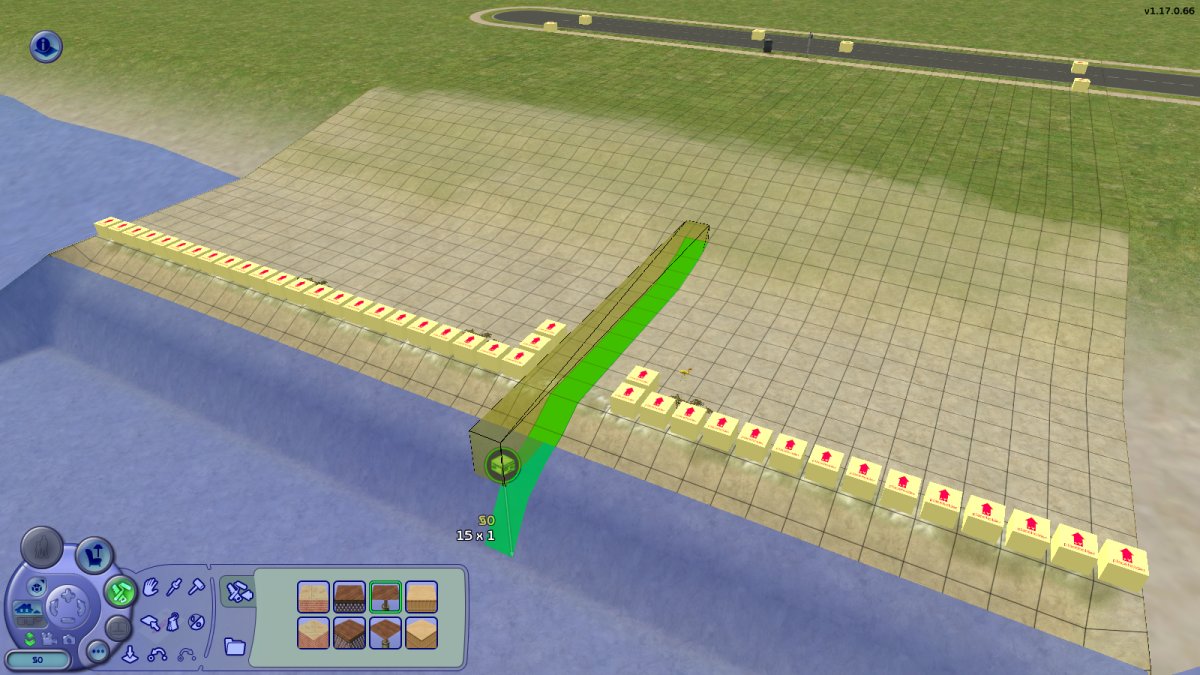
But we don't want to do that!!!
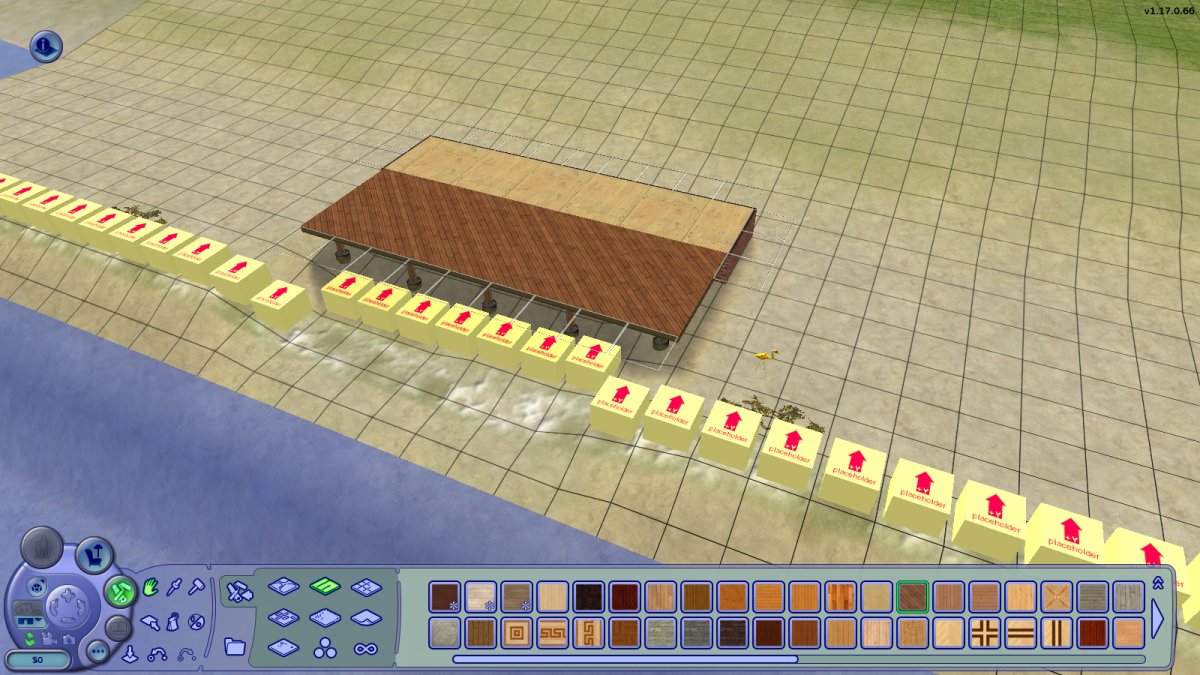
14) Move some more portal boxes out of the way and sculpt a bay in the shore line
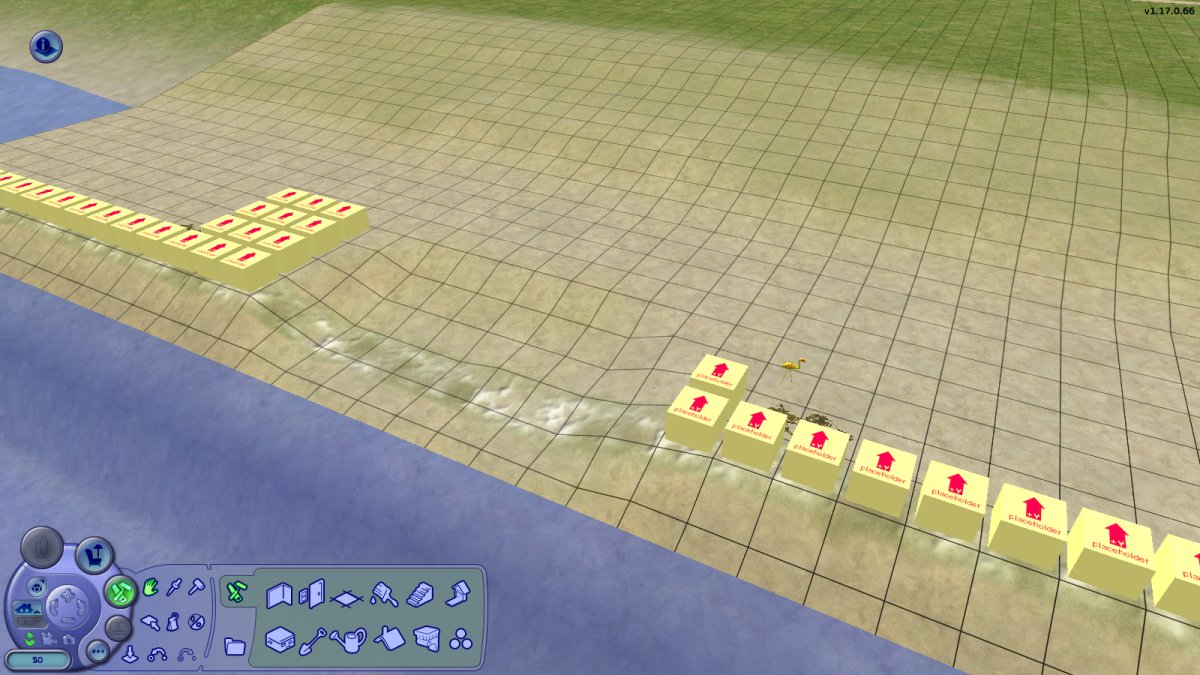
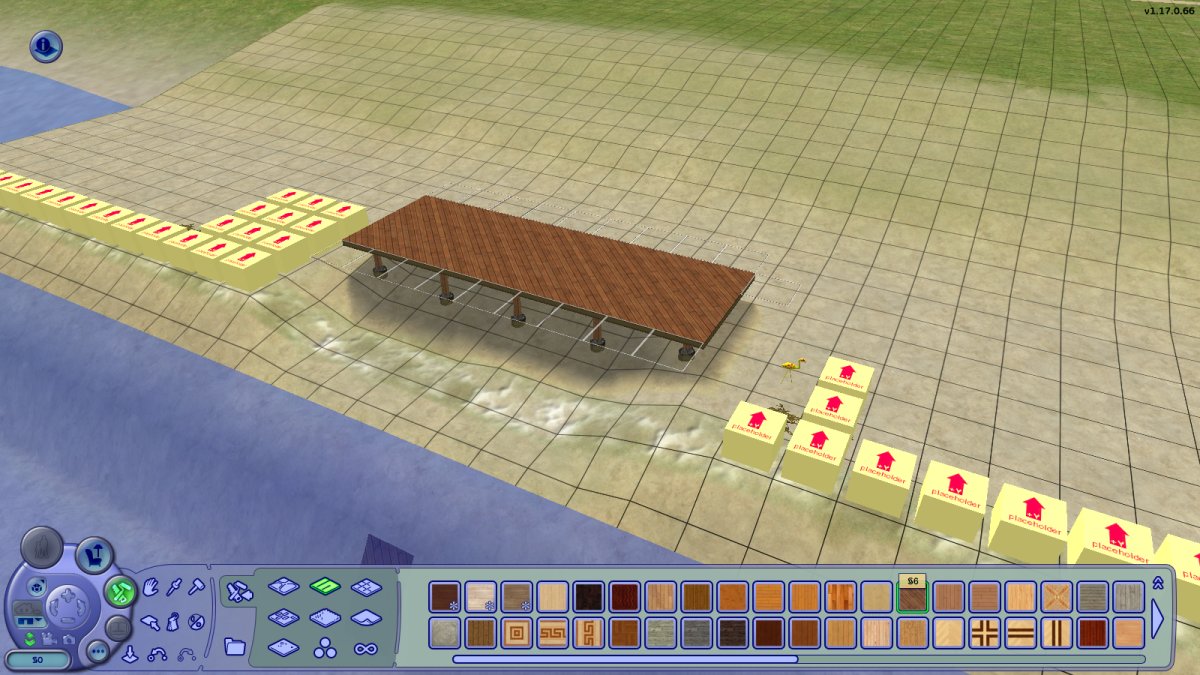
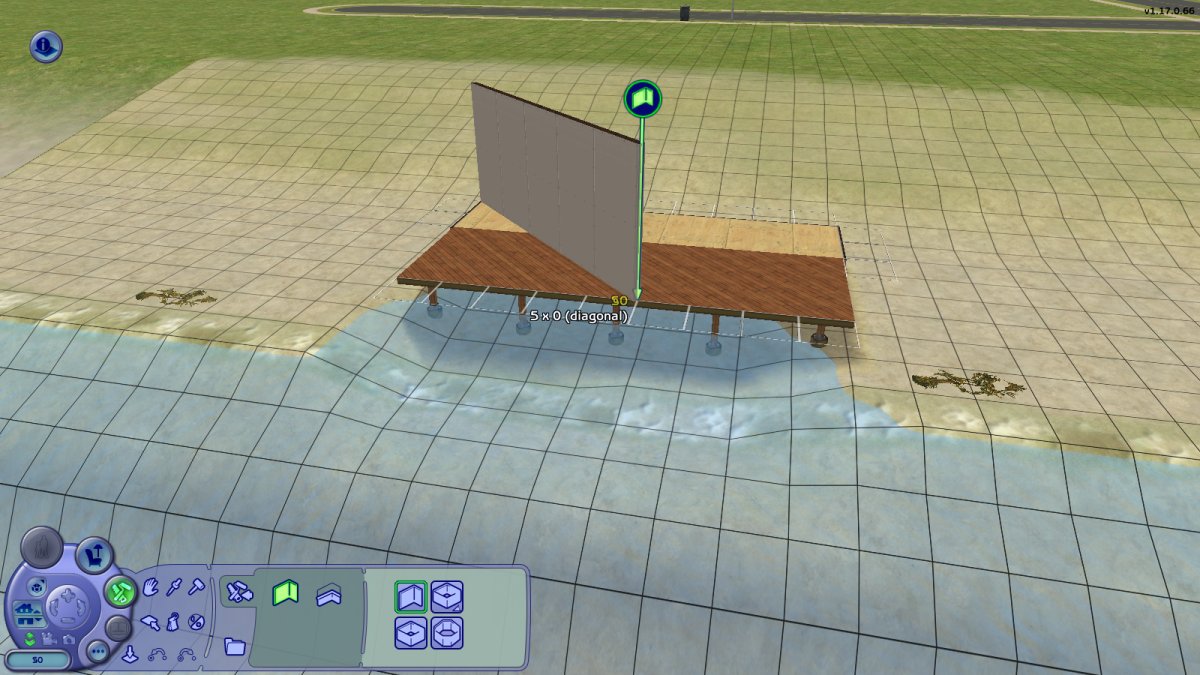
15) Build a foundation on pilings (the foundation shown is a 3x3 section, a 1x3 gap, another 3x3 section, a 1x3 gap and a final 1x3 section - doing it this way places all the intermediate pilings. The gaps are then filled in with matching wood floor tiles.)
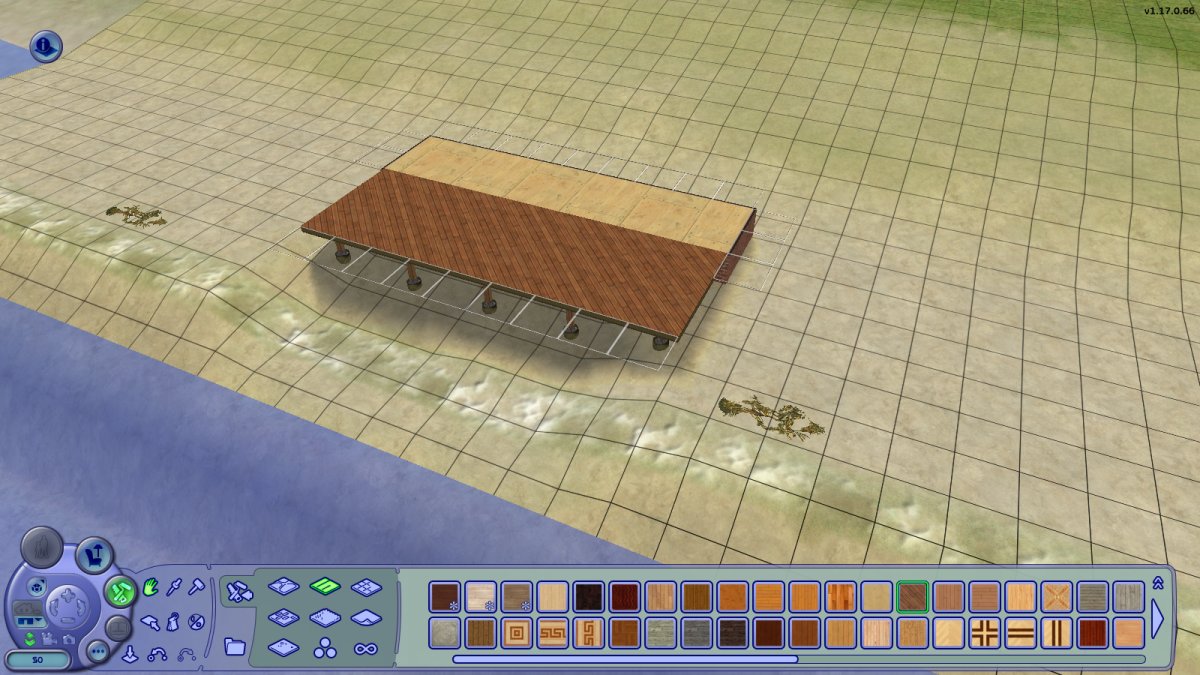
16) Build a solid foundation at the back (cover this with natural stone of something)
17) Move all the portal boxes back
18) Delete the portal revealer (if you want)
19) Save and Exit
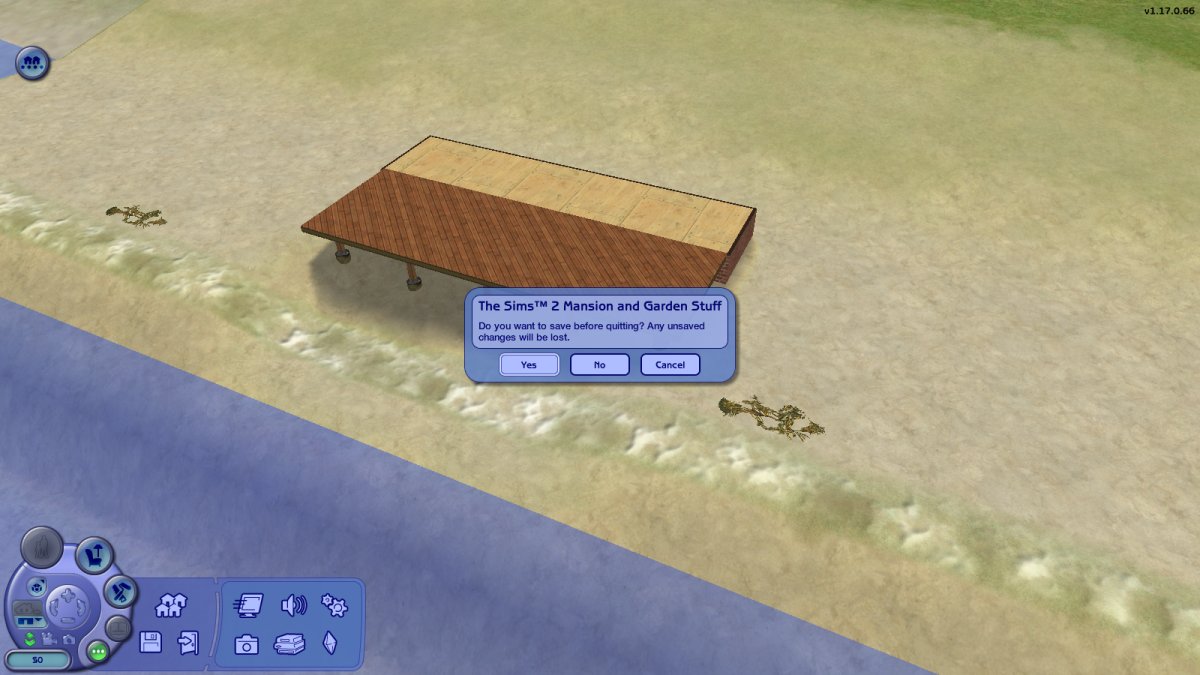
20) Start Lot Adjuster 3.6
Same as step 8, but this time check the Beach Lot check-box
Restart Sims 2, enter the hood and click to build in the lot
21) The bay has flooded, and we can now build on the foundation
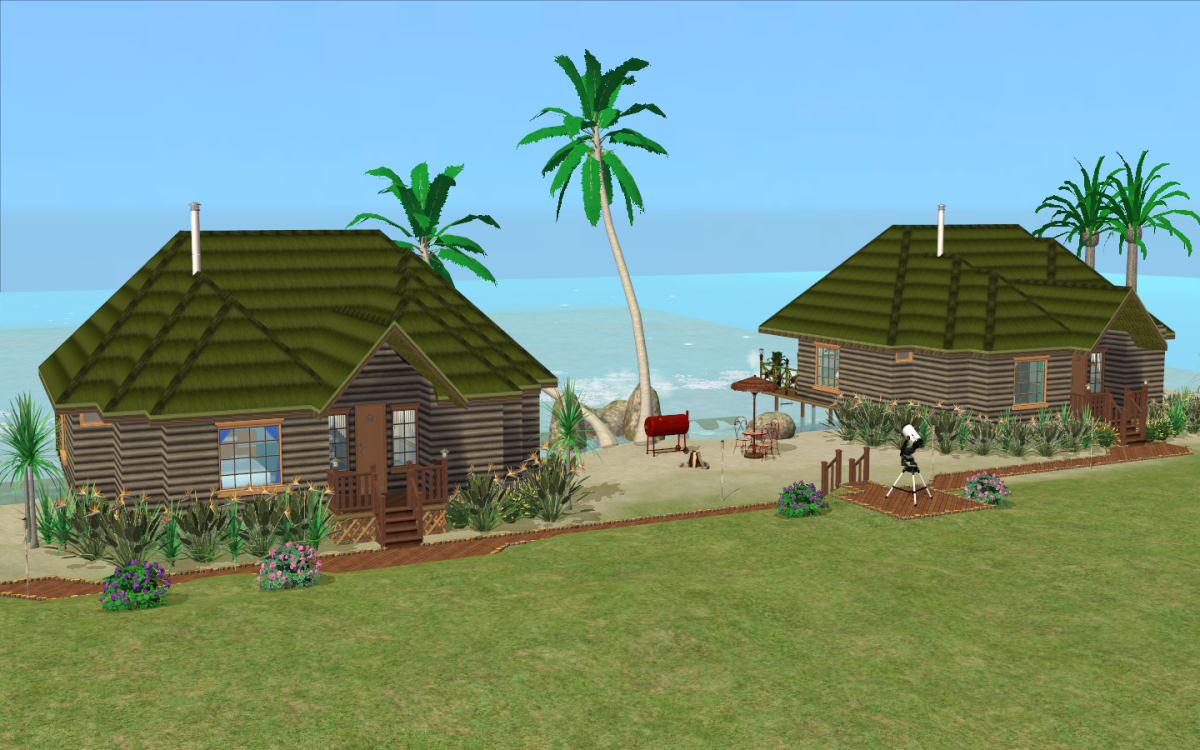
22) Build/Decorate as desired.
If you decide you need to sculpt the shoreline some more, or add/remove foundation, you'll need to use Lot Adjuster again
Lot Adjuster with Any Game Starter
You'll need to proceed slightly differently with Lot Adjuster
Start Lot Adjuster v3.6
Click Start
DO NOT CLICK NEXT
Click "Browse ..." instead
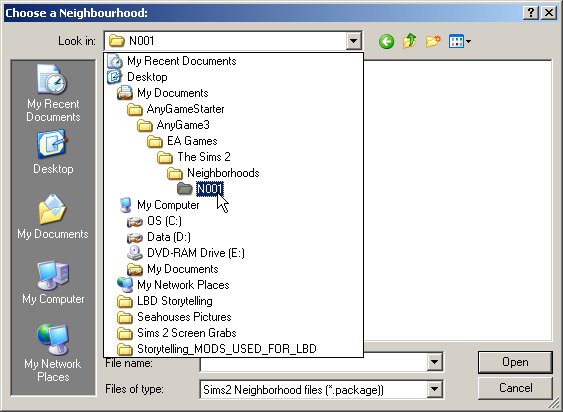
Navigate into the AnyGameStarter sub-directory, and then all the way down into the hood the beach lot is located in
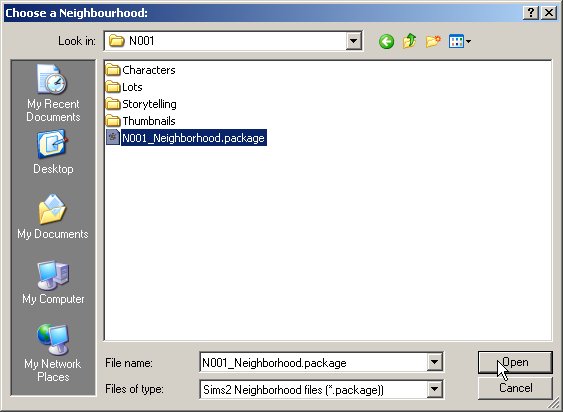
Select the xxxx_Neighborhood.package file, and click Open
Note: If the hood has attached sub-hoods there will be other .package files in this sub-directory. You want the one that starts with the same code as the hood's sub-directory, N001 in this example
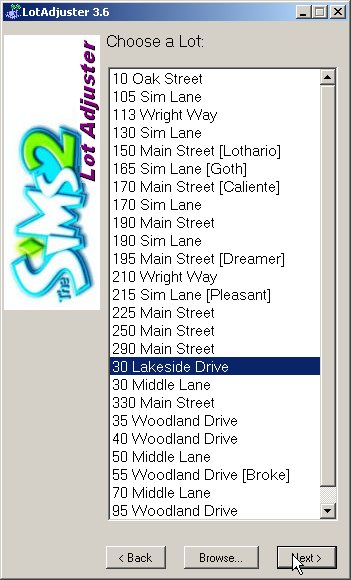
Select the beach lot to modify and click Next. Now proceed from step 8D above (the one where you click the Advanced button)