Building a Suspension Bridge
over a Stream
There are a couple of tutorials on building bridges over ponds/pools (see here and here for the associated pictures) but I couldn't find one about building a suspension bridge over water.
If you can hold both the shape of the bridge and the underlying terrain in your mind at the same time, and don't mind switching constrainFloorElevation back and forth many times, you could build the canyon and the bridge simultaneously. However, I prefer to make the canyon first, getting the shape of that to my satsifaction, and then add the bridge.
1) Make your canyon and stream, and add some foundations to anchor the bridge to. Ideally, the bridge supports need to be an odd number of tiles apart and the central point of the bridge should be directly above the stream.
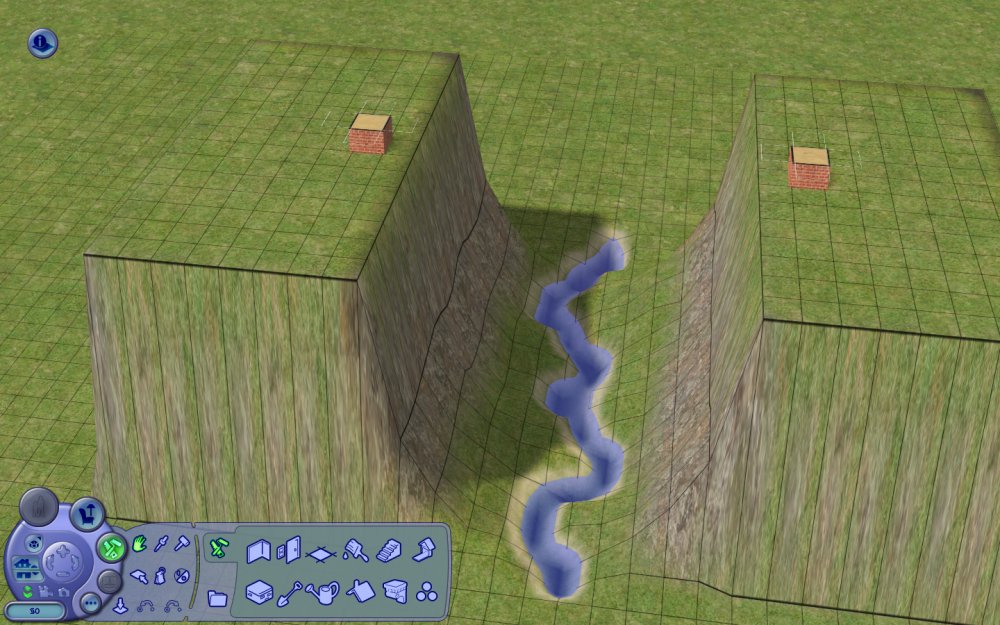
2) Save!
3) Map out the sag of the bridge. You don't want the height change of the tiles, but the height change of the joins between the tiles. The bridge will initially drop steeply, and be flat in the middle, so for my bridge the height changes are 0, -3, -6, -9, -11, -12, -13, -13, -12, -11, -9, -6, -3, 0.

If you want your bridge to twist, vary some of these heights by +/- 1, so my bridge will be
Rear: 0, -3, -6, -9, -11, -12, -13, -13, -12, -10, -8, -5, -2, 0
Front: 0, -2, -5, -8, -10, -12, -13, -13, -12, -11, -9, -6, -3, 0
For your sanity, I suggest keeping the edges of the tile over the stream level.
4) Ignoring the edge on the canyon lip, start RAISING the canyon floor by the change in height of the bridge. You can work from one end, or each end in towards the middle.
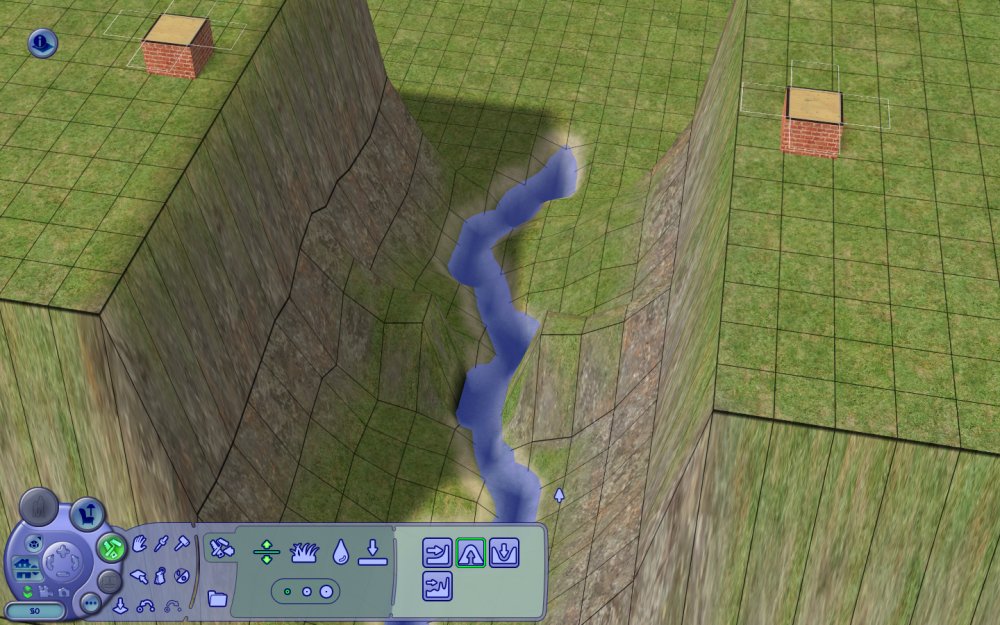
Go slow. Make sure you only click once on the intended corner (and don't get a double-click, or miss the corner as the mouse slips off). Undo/Redo (Ctrl-Z/Ctrl-Y) are your friends!
I find it's easier to raise the back corner, then the front corner, as this way the bump created as you raise the front corner first doesn't hide the back corner.
Take extra care in the stream, as you'll not be able to see the effect of the clicks until above water level.
5) Set moveObjects on and add columns on the "land bridge".
6) Add columns behind the foundations, set constrainFloorElevation false and level from the top of the columns to the top of the foundations. Do NOT level from one foundation to the other!!!
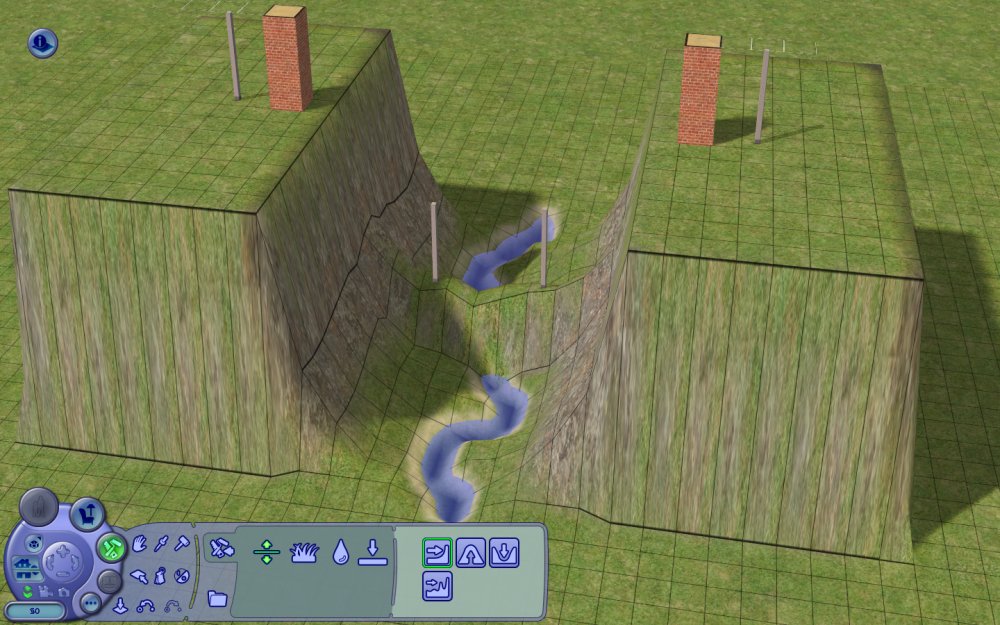
7) Starting from one foundation, place wood effect tiles to form the bridge. Due to the columns underneath, the white outline where you can place a tile will advance as you place each tile.
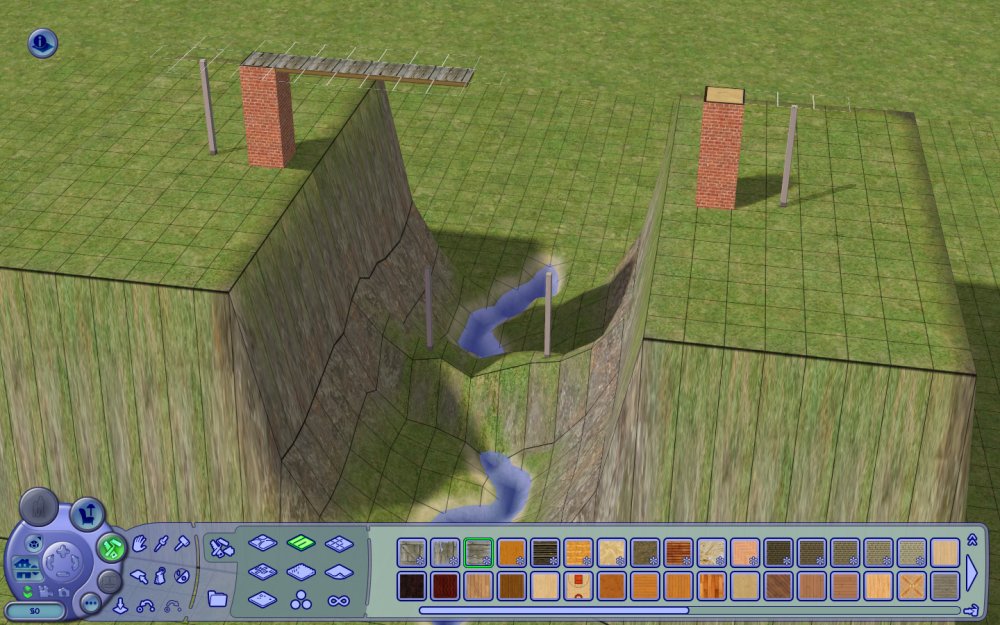
8) Remove the columns and set moveObjects off
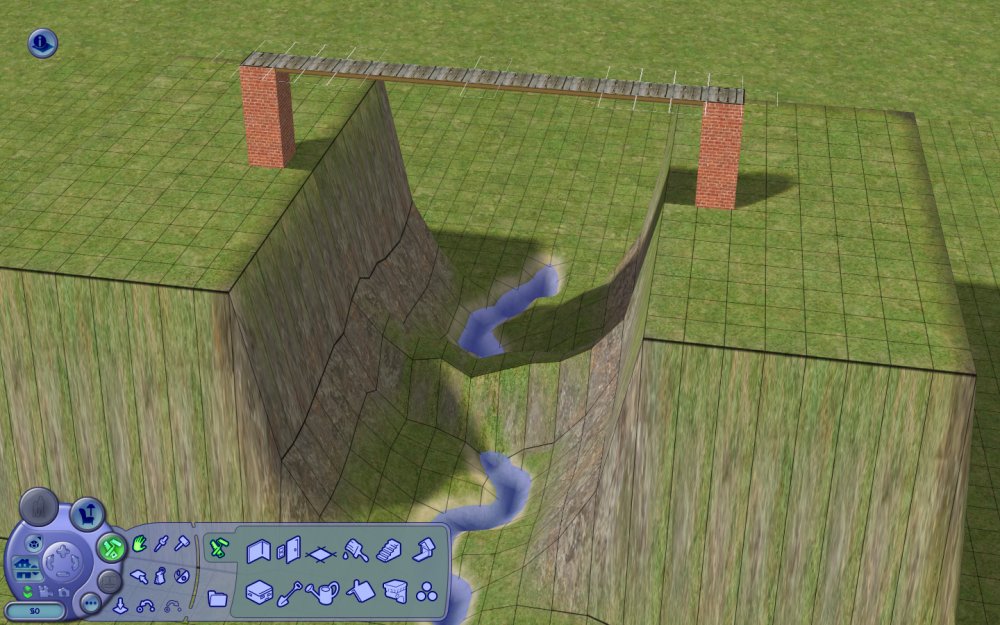
9) Place a temporary foundation and level the bridge to it
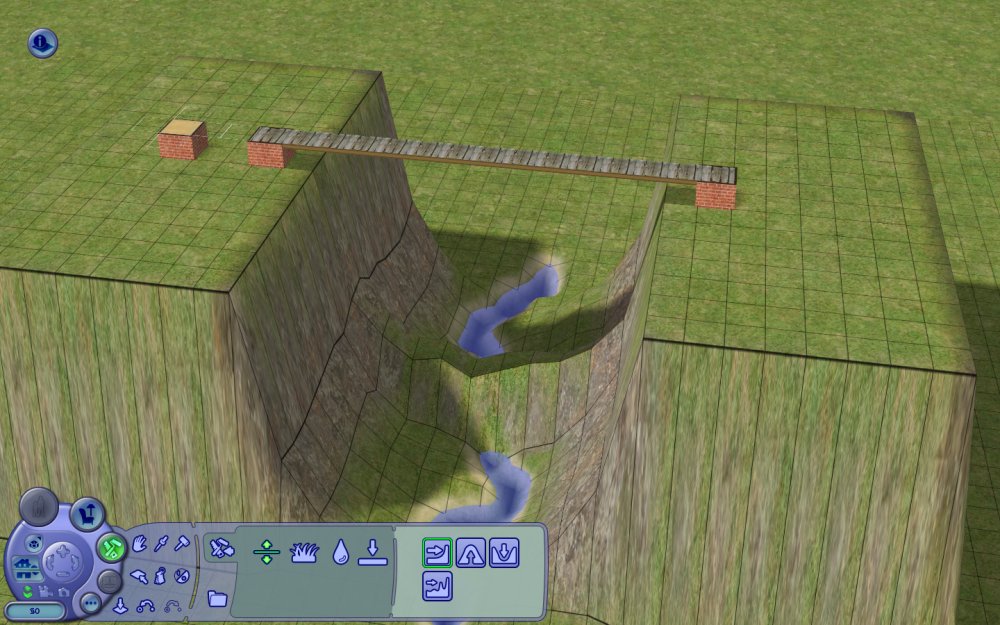
10) Now the fun part. It's time to undo step 4 ... manually! LOWER each corner you previously raised by the same number of clicks. I find it's easier to lower the front corner first, then the rear corner, as that way you can see what you're doing. Ignore the corners that are part of the stream initially.
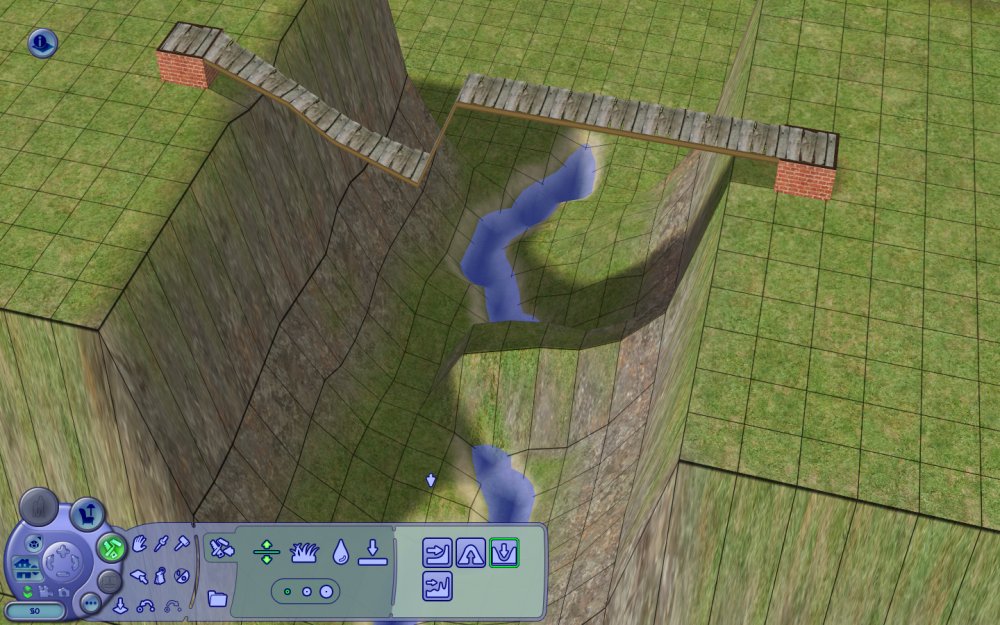
11) With most of the bridge lowered, reduce the part over the stream until it is is just above the level of the banks. Make sure you leave an EVEN number of clicks to complete the stream, usually 4 or 6. I do this by lowering each corner of the tile by one in turn. When each corner has been lowered by one, you can check that the bridge tile above is still level, if not it's easy to correct mistakes.
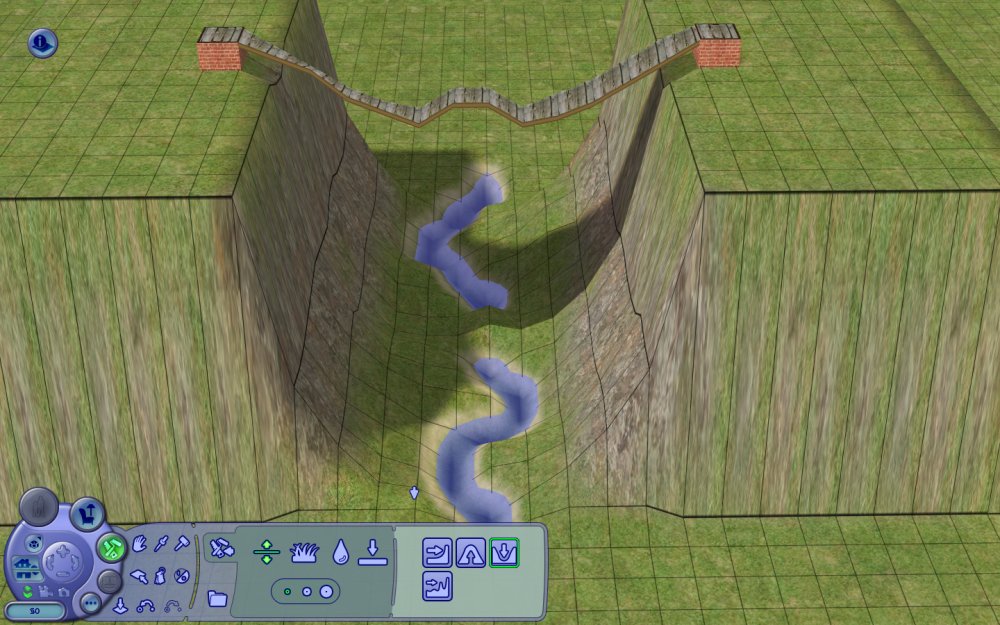
12) Switch to the water digging tool, and finish lowering the bridge. Each click of the water tool lowers the land height by TWO.
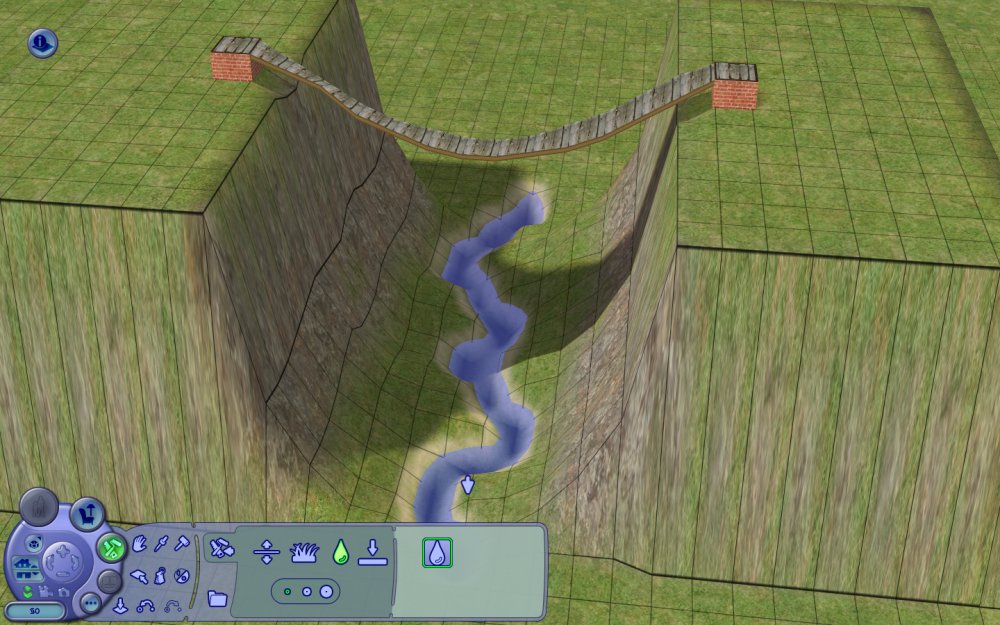
13) Add handrails and cover the foundations, and set constrainFloorElevation true
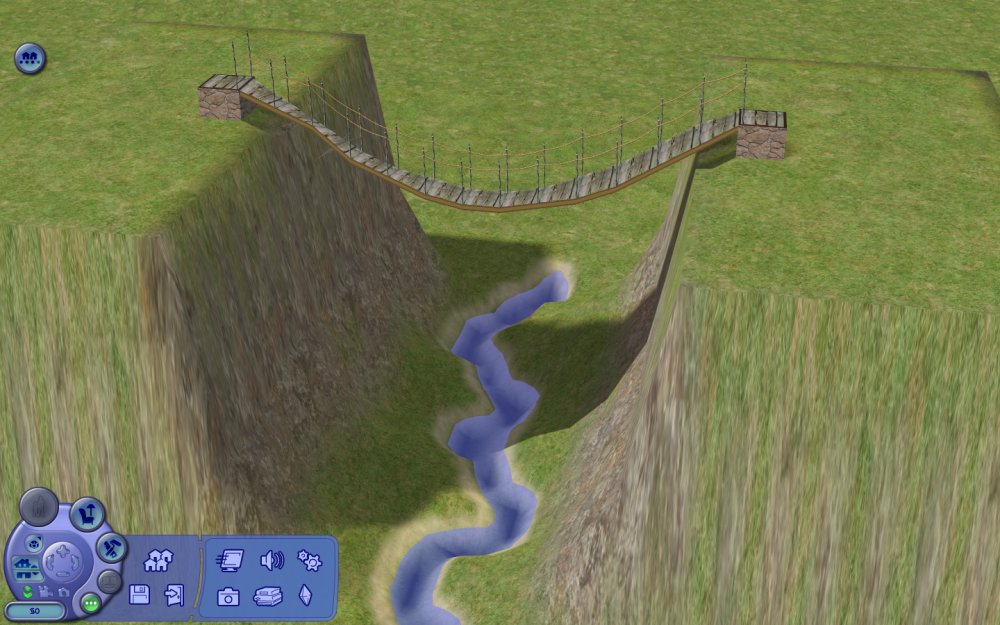
14) Decorate as desired
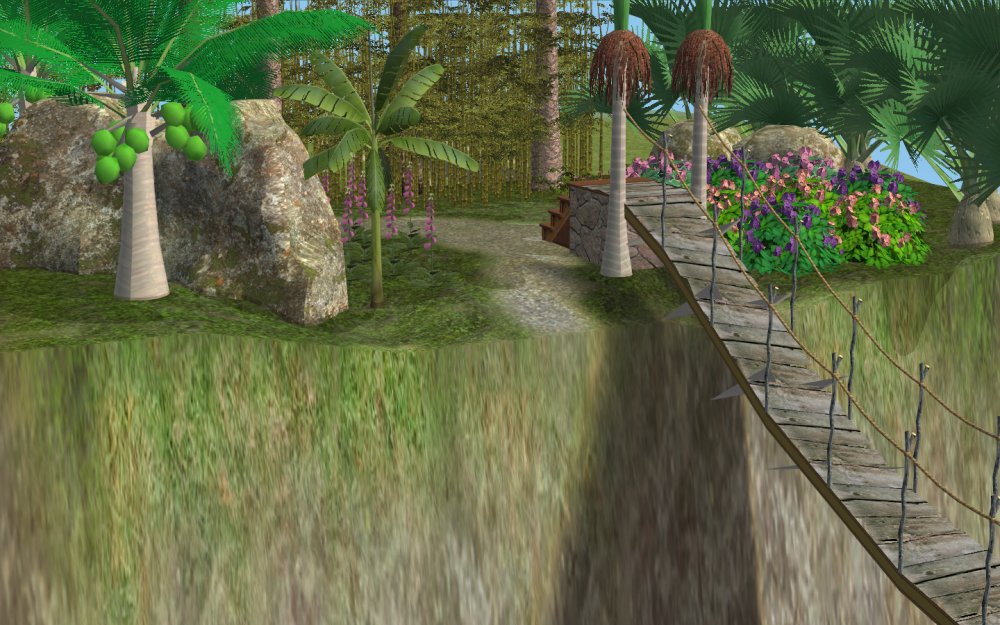
(Shame about the renderer artifacts!)
